
Our snowhole trips always start off on the right foot with a strong cup of coffee and planning session in the mornings, as any good trip should. Each season, we are able to lead multiple snowhole trips in the Cairngorms, and without fail, we always have our chosen sites all to ourselves. However, before we dive into the stories and experiences from our trips, it’s important to first explain what a snowhole is and why it’s one of the coolest (literally) trips you can embark on.
Before we proceed with this blog, we want to make it clear that this article is not intended as a guide on how to build a snowhole. While we will share some helpful tips and tricks that we’ve learned along the way, it’s crucial to have the proper equipment, knowledge, and skills to undertake this activity. Snowholing is not something to be taken lightly, and we highly recommend that those who have never tried it before seek out a professional instructor or someone with experience to guide them. If you choose to join us on one of our four-day ski touring or winter skills courses, an overnight snowhole expedition may be included, weather and conditions permitting.
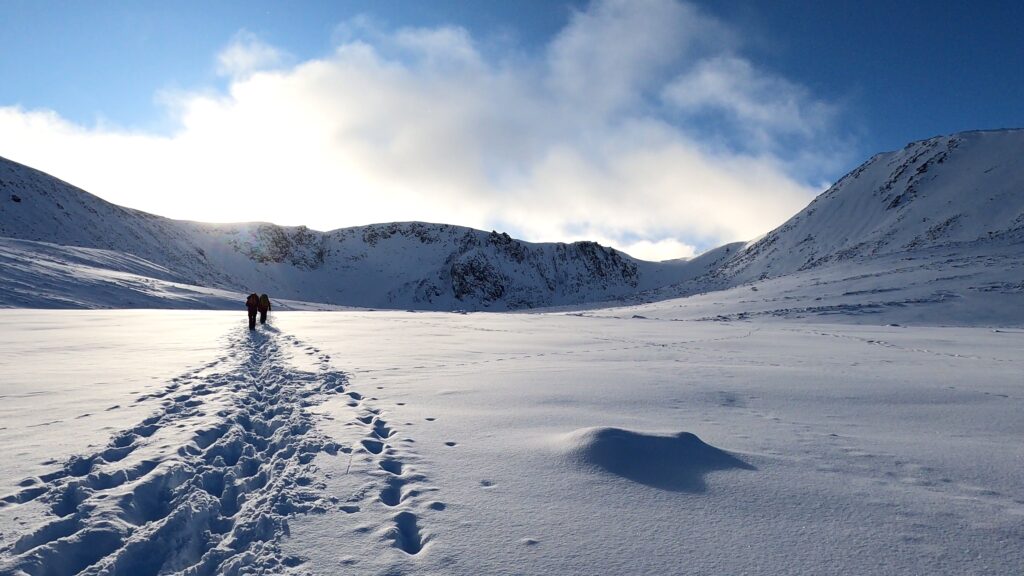
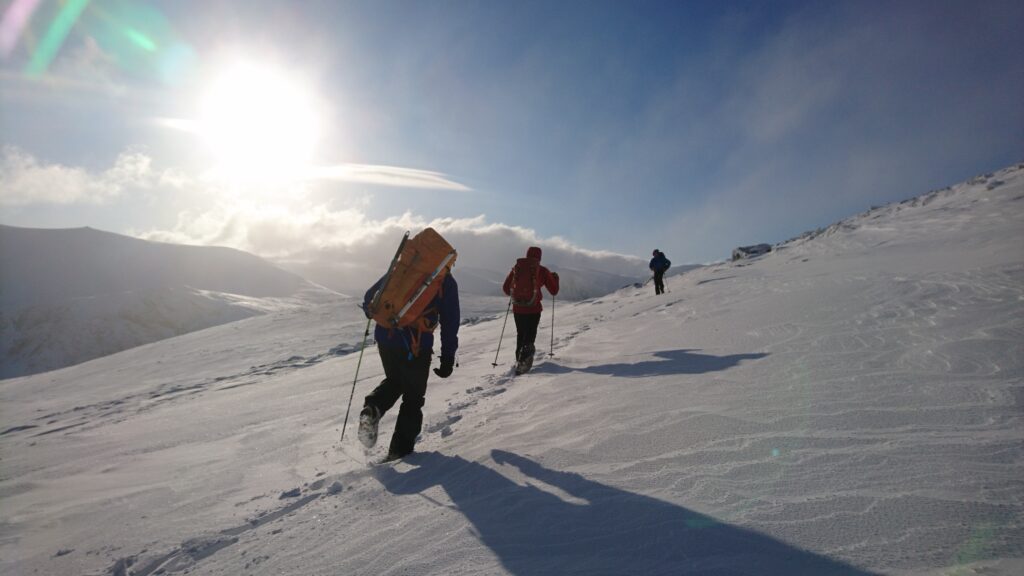
Unlike igloos, snowholes are typically dug into the snow, requiring a significant amount of snow depth to create. This means venturing into areas with ample snow, often at high elevations in the mountains. As such, it’s essential to carefully consider the location to avoid the risks of avalanches and inclement Scottish weather conditions. Winter mountaineering and plateau exploration in Scotland can be treacherous for those inexperienced in winter conditions, so we invite you to join us at Highland Outdoor Adventures for a safe, challenging, and enjoyable experience.
How to Dig a Snowhole – Planning and Avoidance
Before you start digging a snowhole, it’s important to plan and consider various factors such as avalanche risks, wind direction, temperature, and the experience and fitness level of your group. Don’t rely solely on maps and weather reports, but also pay attention to what you feel and see on the hill.
Once you’ve selected a suitable site, make sure that the ground above you is safe and that there is enough snow. Avoid slopes that are prone to avalanches, and try to choose sites on a windward or crosswind slope to reduce the chance of asphyxiation and the need to keep exits clear throughout the night.
Pre-digging
If you’re digging into a less steep slope, start by digging into the snow before hollowing it out to make sure there is enough space. Before you begin digging, make sure to hydrate and test the depth of the snow with an avalanche probe. If you hit the ground, it’s best to look for another site rather than wasting time and energy digging a hole that won’t be deep enough. Don’t forget to bring water and a stove to melt snow for hydration and other purposes.

The Process of Making a Snowhole
The entrance, shape, and amount of snow are crucial factors in the snowhole-making process. Firstly, the walls of the snowhole should be at least one meter deep to ensure they can withstand the weight of snow. If daylight is visible, change the direction of digging immediately to prevent the walls from becoming too thin. There are different shapes for snowholes, including circular and tunnel-shaped. For a circular snowhole, a rounded ceiling is recommended to distribute weight evenly and prevent roof sagging. With a tunnel-shaped snowhole, an apex ceiling like an upside-down V is ideal for strength and to limit sagging or dripping of melting snow.
Thin roofs can be an unwanted entry point for other hillwalkers, particularly if they are wearing crampons, so it’s important to avoid them. Starting off with a wide doorway makes it easier to transport snow outside as you dig, and you can always make the door smaller later. Additionally, ensuring that the entrance slopes downhill allows gases to escape and makes it easier to remove snow during the digging process.
To begin with, the primary goal is to create a large hole, digging inwards, upwards, and sideways, without worrying about the shape initially. Depending on the fitness level of the group, the process can take anywhere from one and a half to six hours for inexperienced individuals. Once you can enter the hole, start shaping it. For additional warmth, construct a few sleeping platforms. For instance, if you want to create a rounded snowhole, dig inwards and form a wall at least 1 meter thick (depending on the snow’s consistency) before proceeding to dig deeper than the length of a person’s body and then outwards and upwards. This allows for several individuals to work on various aspects of the hole concurrently, maximizing efficiency. Make sure the surfaces are rounded to prevent any dripping overnight, and ensure the ceiling is correctly shaped. Finally, flatten the sleeping area before bringing everything inside and celebrating with a dram. This is a crucial morale-boosting moment, possibly the most critical part of the process.
It is critical to mark the hole’s location from the outside to avoid someone accidentally collapsing it. You may use an avalanche probe or ski poles, tie multiple holes together with a rope, or employ a combination of the two. One instructor woke up to discover that the doorway was entirely blocked by over a meter and a half of snow in an hour. He dug himself out, then went to his friend’s snow hole and dug them out, and finally proceeded to dig out another group’s snow hole … and all before even having a coffee!
Throughout the night, even if there is no snow drifting or blowing into the entrance, it is critical to set alarms to wake up regularly and remove any snow blocking the doorway. This ensures that you have sufficient light and air and do not have to frantically dig out your snow hole in the morning.
Important Snowholing Skills:
Toilet Etiquette: Snow holes are often located near water sources, whether covered or frozen. If many people use the same sites and are inconsiderate about waste disposal, it can cause problems. Fortunately, in the Cairngorms & Scotland, the policy is to carry out all waste. If everyone used the same sites and left their waste, it would eventually melt and cause problems in the summer.
To learn more check out our Winter Skills Courses.
Cooking Safety: Both candles and stoves produce carbon monoxide gases, which can be deadly and invisible. Here are a few key tips to ensure your safety: first, when digging your snow hole, ensure that the ground outside the hole slopes downhill. This will allow the dangerous gases to escape outside your snow hole, keeping you safe. If anyone feels dizzy, has a headache, or has blue lips, these are warning signs that the gases are not being adequately ventilated. In some places, you can add ventilation holes, but in Scotland, due to the cold air traveling down to the valleys in winter, a sloped exit and a couple of sleeping platforms are sufficient. The sleeping platforms also allow for cooking on the ground and sleeping slightly higher up, which helps keep you a bit warmer. If your breath drifts to the side when you breathe, it’s a good sign that ventilation is sufficient.
Equipment and Temperatures
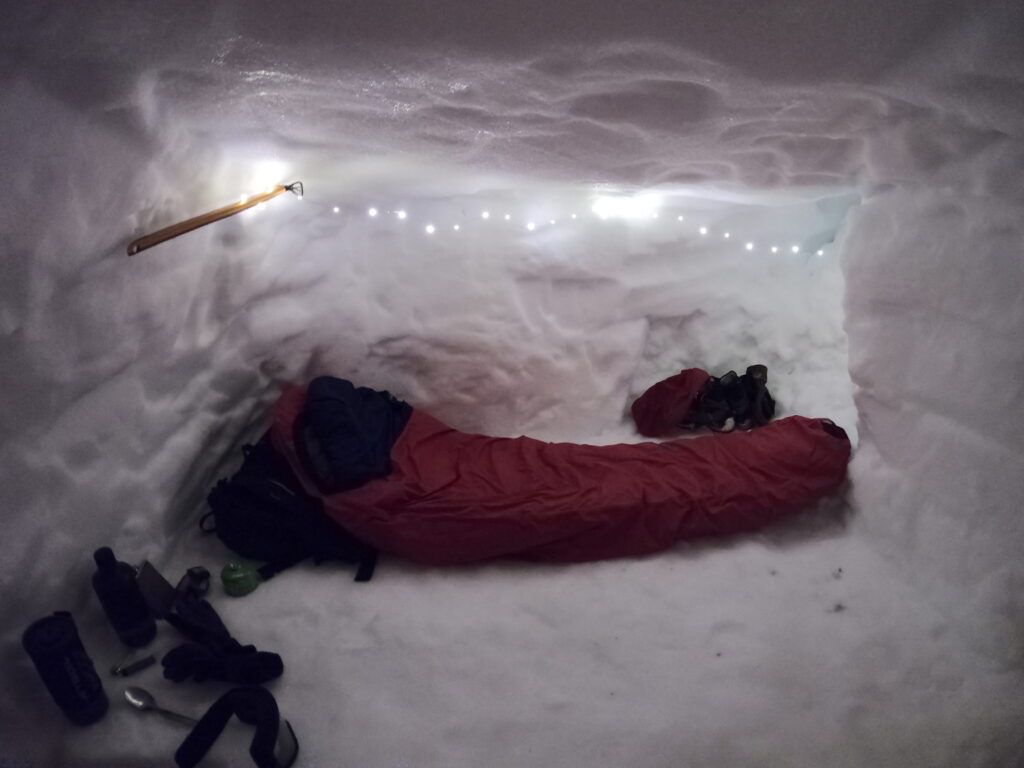
It may seem obvious, but it’s important to keep your kit, like shovels, inside the snow-hole. During the night, snow can be blown around by the wind, and since you’ve dug your site where there’s plenty of snow, more is likely to blow in and start blocking the doorway. It’s not uncommon to wake up after an hour and have to move meters of snow to clear the entrance. Shovels are a crucial piece of kit that should be kept inside the snow-hole (or in your hand if you’re using them!). You don’t want to leave them outside and risk them getting buried. Be sure to check the forecast for wind speeds and directions and choose a windward or crosswind site if possible.
It’s important to be prepared for the cold when snow-holing in Scotland, especially in the hills. A four-season sleeping bag, warm layers, gloves, hats, and a good thermos can make life more comfortable. Scottish temperatures can feel particularly cold due to the wind, but when you’re inside the snow-hole, temperatures will likely be around -5 to 0 degrees Celsius, which isn’t too bad if you’re bundled up. Climate change may have an impact on temperatures, so it’s important to be aware of any changes in weather patterns.
Essential Kit
The essential kit for snowholing varies depending on personal preferences and willingness to carry extra items. However, our staff recommend bringing a few basic items that can make a big difference to the experience.
These include a hip flask with whisky (preferably a Scottish single malt like an Aberlour or Glenlivet), a thermos for coffee or tea, a four-season sleeping bag, a good sleeping mat, a bivvy bag, small dry bags to keep gear dry, a shovel and spork, an avalanche probe, transceivers (if multiple snowholes or available), spare layers including a down jacket, ice axe, crampons, winter boots suitable for crampons, stove and lighter (clicky stove lighter may not work in the cold), water bottle, food (exped meals, chocolate, nuts, dried fruit, etc.), a snow saw (MSR recommended), first aid kit and group shelter, headtorch, 45-65 litre rucksack, spare socks, gas for cooking and a gas warmer to prevent sinking in the snow, goggles, thermals, waterproof winter gear, gloves (at least three pairs), two hats, and compass/maps.
While not essential, fairy lights can add a homely touch to the snowhole. It is not recommended to rely solely on a GPS as it can be inaccurate; instead, bring maps and a compass as backup.
If anyone has found this interesting or they want to give snowholing a go then check out our Winter Skills Courses or contact us and we can tailor a course for you and your group.